Pages

Monday, December 16, 2013

No Bake S'mores Bars

Hey! It's finals week!

Most people hate this week. Being a film student, I quiet enjoy it. The week before finals is horrible. That's when we turn in all our projects and papers and such. But finals week, well it's a week of no class and no filming. A seven day long automatic break!

The only bad thing about film, when we do have finals, they are at ridiculous times. Seriously, I had a final today at 7 a.m. A Monday final, at 7 in the morning. AND! I have one tomorrow morning at 7 a.m. (Though that one is just reading scripts, not like a test, so that's okay).

But I digress.

The reason you're probably even reading this post because I promised you s'mores in a no bake fashion. So let me get to the good stuff!

I made these because while we were cleaning out the closet, we found a bag of s'mores supplies that Steph bought earlier in the semester and forgotten all about. Seeing as it's too cold for a bonfire, I had to do something else with them....

And thus these creations were born.

They're super easy and really good! Fair warning though, they do turn out rather chewy. But I assume if you messed with the marshmallow ratios you could make them less so. I promise they're good either way.

Herewego:


Ingredients:

  • 7-8 large chocolate bars (milk or dark will work)
  • 2 1/2-3 small packages of graham crackers (I'd suggest just the normal ones, not cinnamon)
  • 7 T butter
  • 9 cups of the large marshmallows


This was my Kristen's attempt to hide from the camera. Doesn't she look thrilled?

First, line your pan with foil. Then, you want to crush the grahams. I'd say go for small pieces, but it's up to you.

I find this easiest by putting them in a bag and smashing with your hand. Or letting out all of your "final projects" frustration on them barbarian style. Your choice.

Second, chopped up your chocolate bars. Your choice how finely you want to chop them. I did a mix of chunky and pretty small. Remember that they're gonna melt at least a little when you add the marshmallows.


Speaking of which, it's time for those guys! Add them to a big pot with the butter (cut up to melt faster) over about Med to Med-Low heat.

STIR! This can burn easily, and that doesn't taste very good.... trust me. (Hey look, it's Kristen again!)

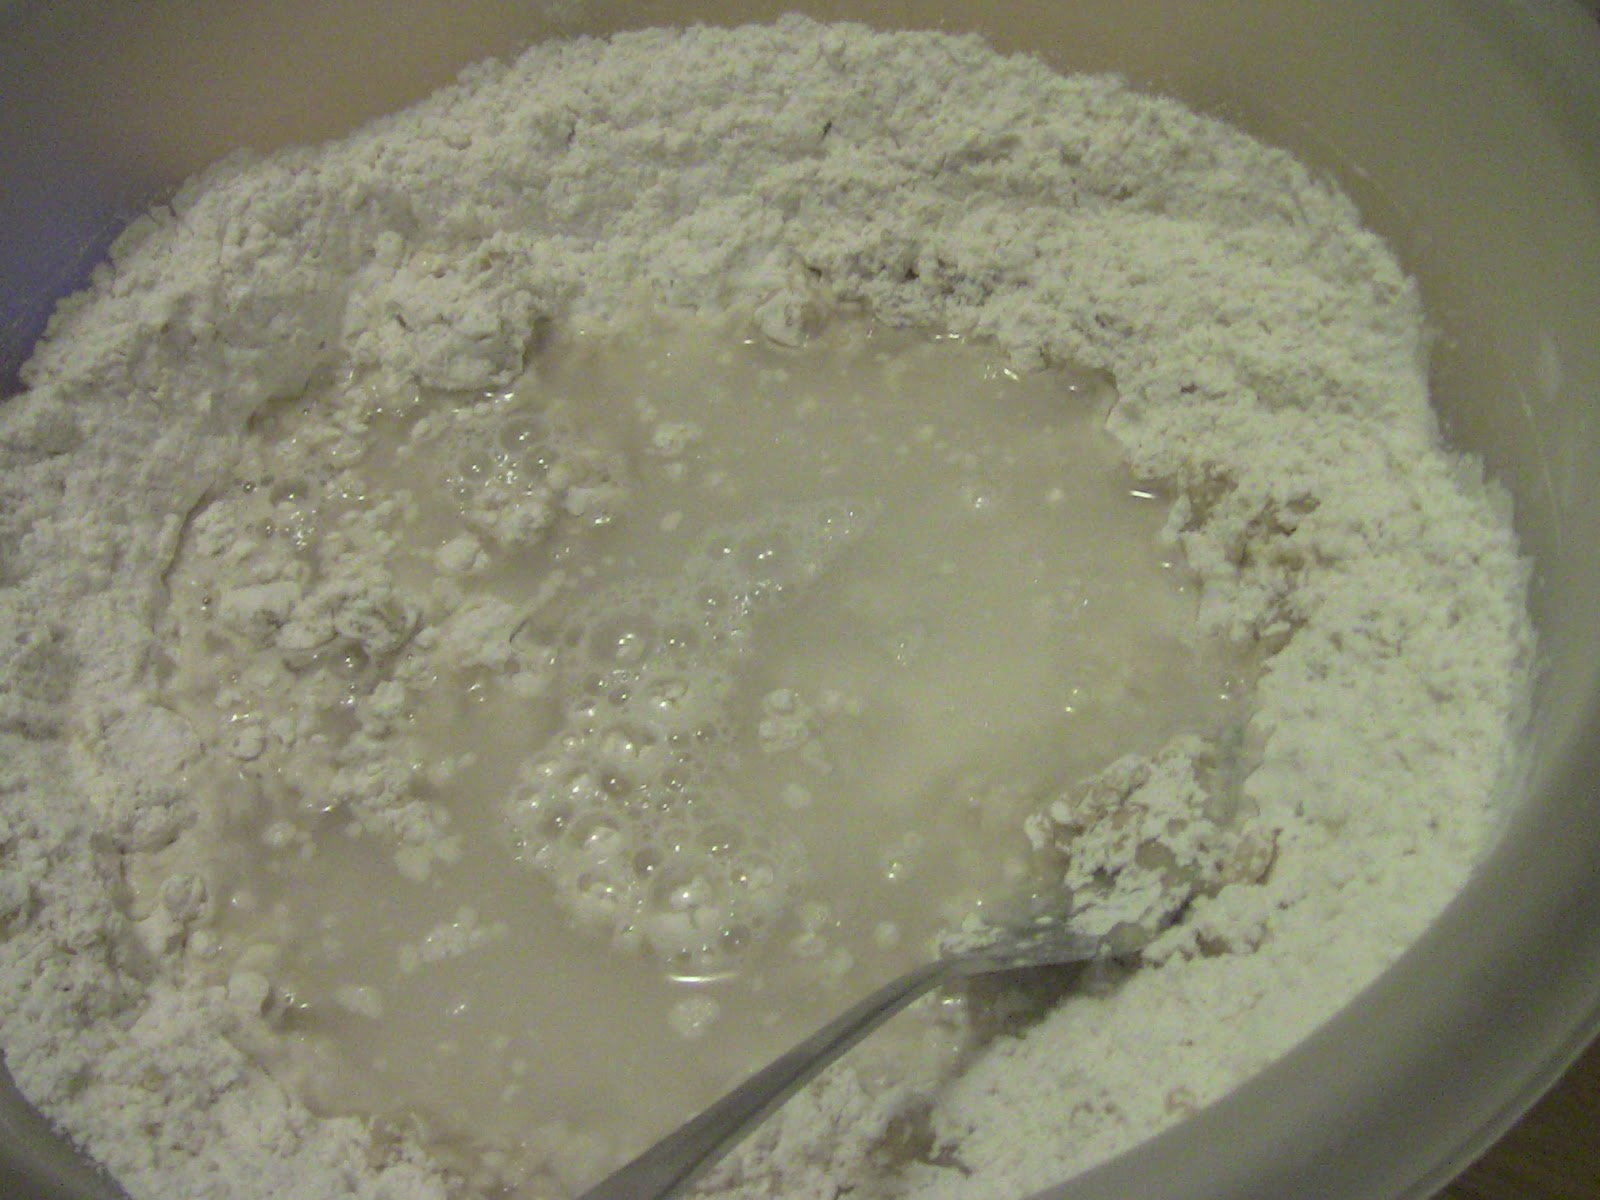
Once your mallows are melted into a pretty gooey state, add in your grahams and chocolate. I added mine in half then half, and saved a few for the top.


Mix it up, but not too much.

Once it looks good and integrated, press it down into your foil-lined pan. I sprinkled my left over grahams and chocolate on top. Then pop it in the fridge for about 10 minutes, and serve!

I only had a 8x8 pan, so I had enough left overs to make 12 more in a muffin tin. But it works best in a 9x13 pan.

Hope you like it! My roommates and the guys did.

Much love,
Rissa

Sunday, December 8, 2013

Nerdy Christmas Cards

It's that time again! Time for nerds and geeks to join together with hipsters and businessmen in Christmas spirit and celebrate the blessed holiday season!

The most wonderful time of the year.

I wonder if I can get accused of plagiarism for that. I never truly understood the rules on that one.

Anyway, two of my friends are big fans of Star Trek and Doctor Who, so I decided to get creative with their Christmas Cards. Here's the end product:

This one's for Whitney:


And this one's for Martha:

What do you think?

Also, yesterday my friend Chris and I wanted to go on a walk, but unfortunately, this whole place is covered in bloody snow!

(There's no blood. Sorry to scare you.)

So we decided to go walk at the indoor track. Which sounds like a good idea.

Until you get there and everyone else is in workout gear cause it's a track and they're suppose to be and you look down and realize you're in jeans and a trench coat.

But we walked anyway. And ran too, actually, which was really entertaining. You get a lot of weird looks when you run in jean, boots, and a tee shirt on a track.

Well, that's about all for now. I'll try and post again soon. Have a wonderful Sunday!

Friday, December 6, 2013

Banana Crepes

Wow.

It's been quite a while since I wrote on this blog. My apologies go out to the 5 people who read the blog. I think that's about all that do...

But I do feel bad for those people, so I offer this beautiful picture of Norway, in hopes that you will forgive me.

Feel better? Yeah, I knew Norway would do the trick.
Anyway! I'm back! With a delicious recipe!

Banana crepes! AND.... they're healthy!


And not even "bleh" healthy, they taste good too! In fact, I'm eating mine as I type. (Well, in between typing...)

I know, I know. Crazy. But seriously! These things tastes good, they're only 250 calories, and best of all, it's clean! There aren't any added sugars or things, it's all good food.

Look good? Herewego!

Alright, here's the ingredient list:

1/3 c oats
1 tsp cinnamon
1 ripe banana (the riper the banana, the sweeter the crepes)
1 egg
1/4 cup milk (I used regular milk, but you can use soy or almond, any kind really)
*Optional:
   extra fruits for filling
   or syrup, nuts, yogurt, peanut butter

Directions:

1. Mix the dry ingredients, which turns out to just be oats and cinnamon. Blend them into a nice flour.

2. Add the egg, milk, and HALF of the banana. Blend again!


3. Now, heat your pan at just about a number below Medium. Pour some of the mix in a non-stick pan and swirl it around a little, to get it in a nice thin circle.

4. When it starts to bubble, it's time to flip! Then about 30-40 seconds, and take it off to the plate!

So.... my first one didn't turn out so well. It was less of a crepe and more of a scrambled mess. There's no picture of it out of the shear goodness of my heart. Honestly, I'm doing it for you.

My second one was much better! The third one broke a little, but by my fourth try I was a pro. Seriously. I'm thinking of putting "crepe maker" on my resumé.

And guys! I did it! I did the flip! The thing where you flip over the crepe without touching it... yeah. I did that. I'm so proud right now! I feel accomplished in life! Next time, I'll get a video so you can join in my excitement (:

Ok, back to the directions.

5. Remember the other half of the banana? We're gonna use it to fill the crepes! Genius, right?


Here's where you can get creative with you're fillings. I was going to put some strawberries in here too, but I didn't have any. Plus they're expensive. Yah college budget!

But you can fill them with whatever you want...

Other fruits, syrup, nuts, yogurt, peanut butter..... get creative with those puppies!

Well, there ya go! Hope you enjoy. Tell me what you think of them. Can you do the flip??

Tuesday, April 23, 2013

Compliment Ninjas

So it's finals week here at school. Fun. Oh so fun.

Actually this has been a very chill finals week for me.  Now that I'm in my major, finals consist more of projects and some film analysis essays, so this has been the most relaxed finals week I have ever had!

Last night was really fun. Me and my roommate Stephanie were up late (her studying, me writing a paper) and it got to be about 1 in the morning when Steph suddenly turns to me and says:

"Riss, what if we wrote compliments on sticky notes and put them on the cars in the parking lot?"

Naturally this sounded like an amazing idea. So she pulled out the sticky notes and we started writing compliments, both normal and a little weird. Some examples include:

  • You're so awesome, you could walk into Mordor and everyone would be like, "yeah, that makes sense."
  • You're cooler than Mr. Rogers, which may not seem like a big deal, but that dude put on a different pair of shoes just to chill in his own home. And that's crazy cool.
  • If I had a nickel for every time I thought about you, people would be like, "What are you doing with all those nickels? That's too many nickels." And they would be wrong.
We didn't get done until about 2:30 a.m. and we did 79 total. I'm pretty sure the later it got, the less sense  our compliments made...


Anyways we ended up just bringing them over to the guy's house and littering their stairs with them all. It was a nice adventure. It's always fun when you have two sleep deprived college girls trying to be quiet at 3 in the morning on a creaky staircase.

I'd like to say we're ninjas.

I'd have someone back me up, but there are no witnesses to our ninja acts. But I'd like to think that that in itself is proof enough.

Wouldn't you?

Friday, April 12, 2013

Fast, Easy Tortillas

When I was in second grade, we "made" tortillas.  And by made, I mean we actually played no part in the process.  Here's what happened:

Our teacher taught us how to grind flour. So, a group of eight-ish year old kids sat outside with two rock type things and a bunch of wheat and went to town grinding it into flour. Needless to say, it sucked. We thought it was insanely hard and stupid and not worth it!

Then our teacher took the flour mess we had created, went into the classroom for about 60 seconds (as the actual making of flour into tortillas was too complex for us), and came out with tortillas that our "flour" had "made".

Ever since then I have been under the impression that making tortillas was the hardest, longest process ever and you would have to be insane to try it.

Of course, if that were true, this post would end now.


But it doesn't. Obviously. Or, well, I hope that's obvious. Cause, there's more words. Just keep scrolling.

Well I found this recipe a while back, but had never tried it until recently. And holy cow! These are friction good! (so when I typed out that last bit, I had written "frickin", but it was auto corrected to say "friction". So I kept it. Hence the weird saying.)

These are great! Only 4 ingredients:

2 cups flour
1/2 t salt
3 T oil
3/4 cup water

Mix together all ingredients


and knead about 10 times (as more flour as needed, you don't want it too sticky. I found that about 1/3 cup more normally does it).


Or you can get fancy with your kneading skills.


And your faces. Thanks Chris.


Roll it into a ball and divide it into 8 pieces.

Spread those out into circles


and fry for about 1 minute per side on a sprayed pan.


And that's it! You're done!


 Depending on how much you flatten them, this is about their thickness.

Super easy and super good!


Sunday, March 31, 2013

Happy Easter!

Happy Easter!

We decided to embrace our fleeting childhood and decorate eggs again! So here's what we turned out with:


As much as I like the fancy eggs, my favorites are still the plain (but extremely vibrant) red and blue ones. Also, my parents were awesome and sent me a "monster egg" making kit!

It came with stickers, fake hair, and pipe cleaners. And this was weird:
 so this is what one of my eggs looked like in normal light. Cool, normal, nice. But then I took picture in sunlight instead of the kitchen light, and this is what happened:
It was glowing! Crazy!


Anyways, it was fun! I also made Easter dinner with the guys. And a bunny cake, but I'll have to upload that later.

Hope you all have a great Easter! Enjoy one of the many random activities we decided should be used to celebrate this day!